
In this post, we’ll learn how to:
- set up a Raspberry Pi via SSH with only a PC and ethernet cable
- share the PC’s WiFi internet connection with the Raspberry Pi over ethernet
Introduction
As I write this, I’m sitting in a hotel room with my laptop and a Raspberry Pi, which I brought along because I’m traveling for several weeks and wanted some tech to play around with in my downtime. I’m on hotel WiFi with captive portal authentication, no access to the router or router administration, and no router of my own. Nor do I have a standalone keyboard or HDMI cable. I only had the space and foresight to bring an ethernet cable.
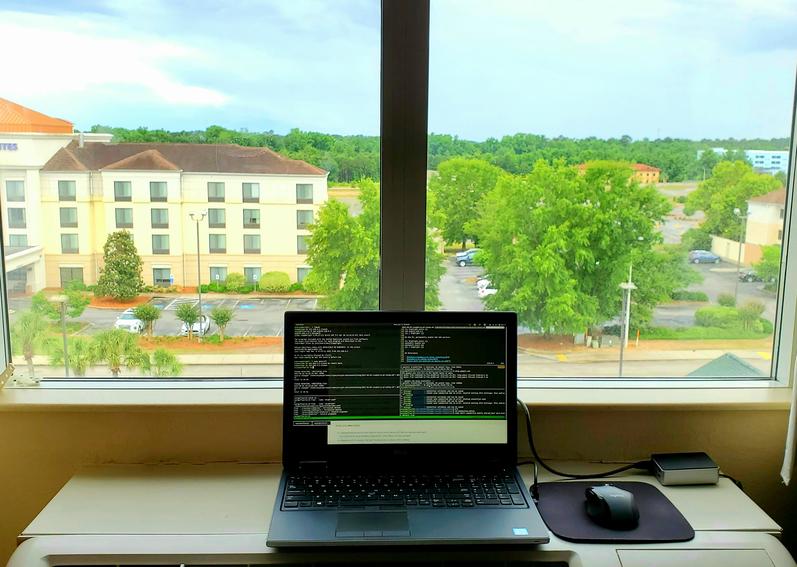
The view from my hotel room
To simplify things, I wanted my Raspberry Pi to have internet access without having to figure out captive portal authentication on the Pi. Thus, this post was born out of necessity.
What you will need:
- a laptop/desktop host PC with Ubuntu 18.04 (other versions of Ubuntu may also work, and the instructions can probably be adapted to other flavors of Linux as well)
- a Raspberry Pi (I’m using a 3B, but the instructions should also work on other models)
- a power supply for the Raspberry Pi (I’m using this 5V/3A PSU from MakerSpot that I bought for $11 on Amazon)
- an ethernet cable
- an SD card and SD card reader/writer
- [optional: an internet connection on the host PC]
What you will not need:
- a monitor or video output (for the Raspberry Pi)
- an HDMI cable
- a mouse/keyboard (for the Raspberry Pi)
Instructions
Install Raspberry Pi OS on SD card
The first step is to install Raspberry Pi OS on an SD card. There are several ways to do this. Currently, the easiest is to use Raspberry Pi Imager, but at this point in time, the version in the Ubuntu 18.04 APT repository doesn’t work (see this Github issue). You can either build it yourself or install the version from the Snap store:
snap install rpi-imagerAfter you run the Imager (or use your preferred method) to install Pi OS on
the SD card, the SD card should have two partitions, boot and rootfs.
Mount both of these.
Enable SSH for first boot
Navigate to the SD card’s boot partition and create a file named ssh
(replacing /media/sd with your mount point):
cd /media/sd/boot
touch ssh
This will enable SSH access on boot, which is disabled by default. It’s only
temporary, though—the file is removed after boot and you’ll lose SSH
access again if the Pi is restarted (we’ll address this in a later step by
starting the ssh service on the Pi).
Set up static IP address
Navigate to the SD card’s rootfs directory and edit /etc/dhcpcd.conf with your
editor of choice (I use vim):
cd /media/sd/rootfs/etc
vim dhcpcd.conf
Add these lines to the file:
interface eth0
static ip_address=192.168.4.2/24
static routers=192.168.4.1
static domain_name_servers=192.168.4.1
Configure host ethernet connection profile
Next, we’ll set up an ethernet connection profile on the host PC that will allow us to 1) SSH into the Pi via ethernet and 2) share the host’s internet connection (if any) with the Pi. To do this, we’ll use the NetworkManager connection editor, which can be started from the terminal with:
nm-connection-editorThis opens the following window:
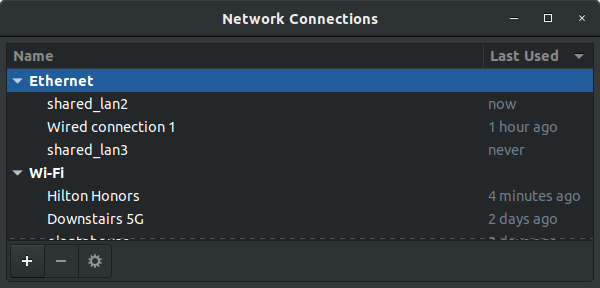
Click the “+” button in the lower-left corner to add a new connection.
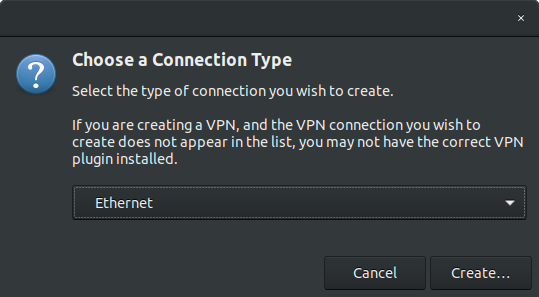
Select “Ethernet” from the connection type dropdown.
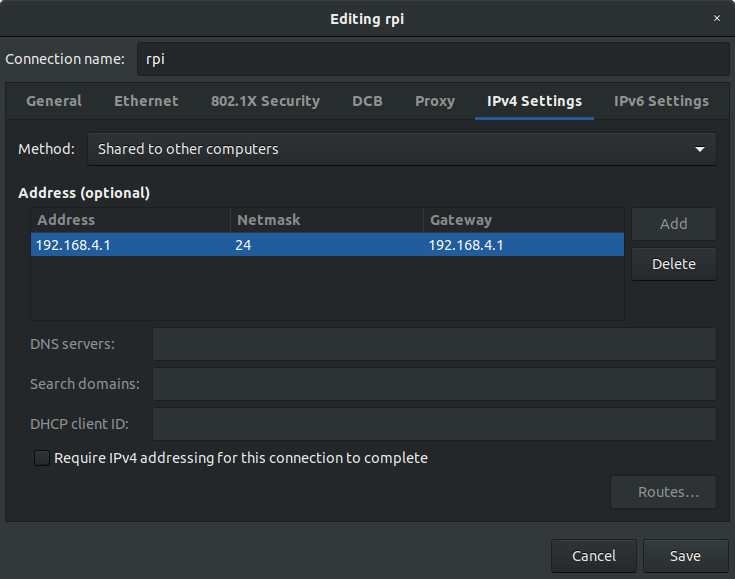
In the window that opens up, go to the IPv4 Settings tab. Select “Shared to other computers” for Method, and add a new address with the values address = 192.168.4.1, netmask = 24, and gateway = 192.168.4.1. Give the new connection a name (I named mine “rpi”), then save and exit.
Run the following nmcli terminal command to ensure the system doesn’t
attempt to use the ethernet connection for internet instead of WiFi:
nmcli connection modify rpi ipv4.never-default truereplacing rpi with whatever you named the connection.
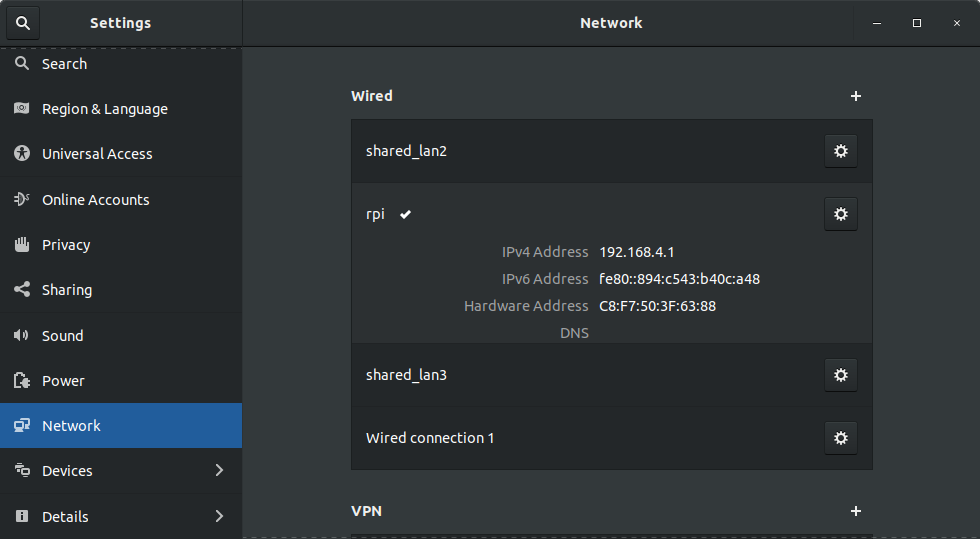
Connect the Raspberry Pi
At this point, you can insert the SD card into the Raspberry Pi, connect it to your PC with the ethernet cable, and boot it up. Open up the PC’s network settings and ensure the new connection profile is activated.
Access the Pi via SSH using the static IP address we defined above. The default
username is pi and the default password is raspberry:
ssh pi@192.168.4.2On the Pi, permanently enable the SSH service:
systemctl enable ssh
systemctl start ssh
Congratulations! The Raspberry Pi is now set up and ready for use. You should
be able to access the internet from it (try running a sudo apt update),
though I’ve found that some VPNs can interfere with LAN/ethernet connections
and may require further configuration.